 01642 224544
When beginner growers first set up their indoor gardens, they naturally obsess over the "glamorous" components: high-powered LED lights, premium nutrients, and top-tier genetics. However, ask any seasoned hydroponics expert, and they will tell you that the true unsung hero of a record-breaking harvest is something completely invisible: Airflow.
Your grow room is a closed-loop ecosystem. Without proper ventilation, carbon dioxide (CO2) depletes within hours, choking your plants' ability to photosynthesise. Simultaneously, the heat from your lights and the moisture from plant transpiration will build up, creating a stagnant, humid swamp that acts as an open invitation for powdery mildew, bud rot, and pest infestations.
To level up your growing game, you need to master your environment. And mastering your environment starts with choosing the correct ventilation equipment. Today, we are going to demystify the math and teach you exactly how to calculate your grow room airflow requirements, ensuring you buy the perfect sized fans and filters.
The Golden Rule of Air Exchange
Before we dive into the calculations, it is vital to understand the objective. In the UK hydroponics industry, airflow is measured in Cubic Metres per Hour (m³/hr).
The golden rule for indoor cultivation is that you must be able to completely extract and replace the entire volume of air in your grow space once every single minute.
Why one minute? This rapid turnover ensures a constant supply of fresh CO2 reaches the stomata (the microscopic pores on plant leaves), strips away excess humidity, and expels heat before it can damage your crop. While some growers aim for an exchange every 3 minutes, calculating for a 1-minute exchange gives you the overhead capacity you need to handle hot summer days or late-flower humidity spikes.
Step 1: Calculate Your Grow Room Volume
The first step is simple geometry. You need to determine the physical volume of your grow tent or grow room.
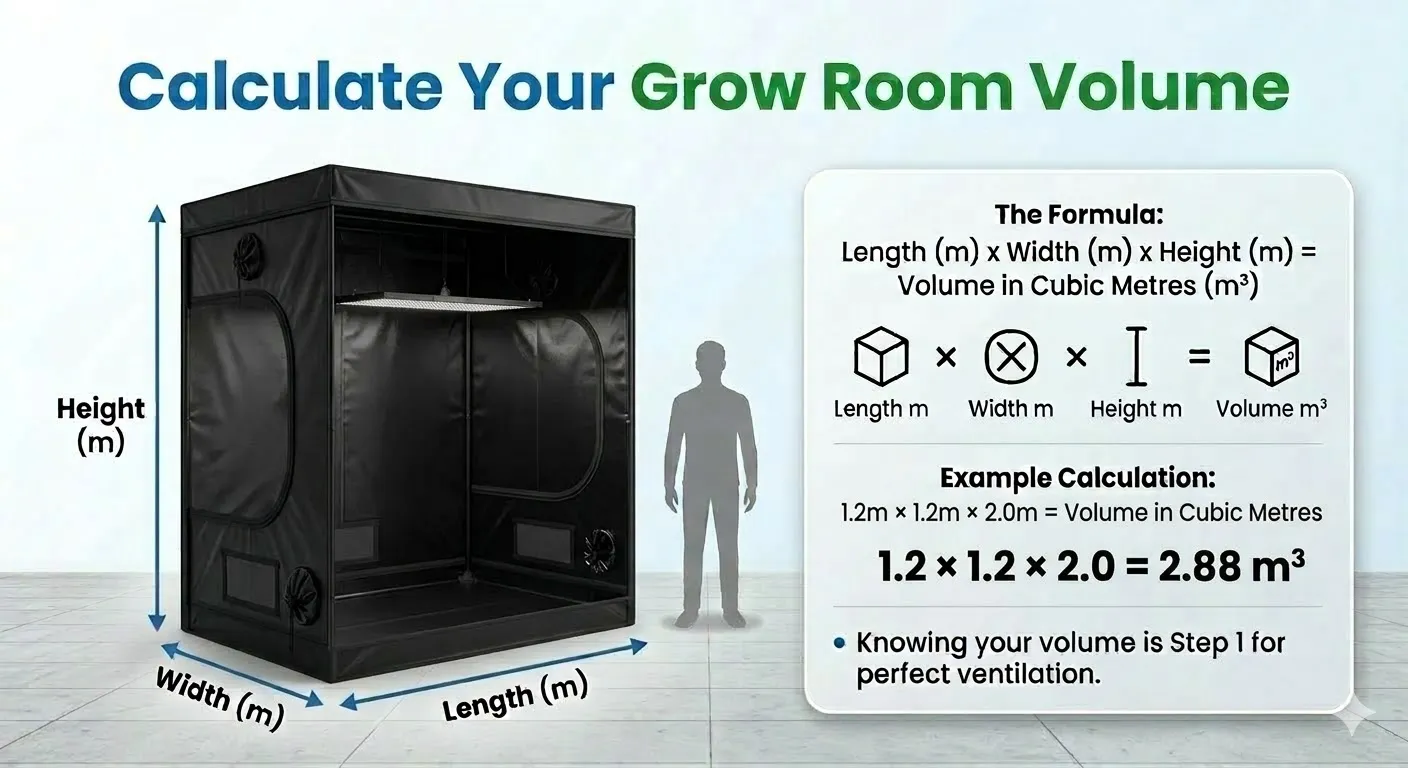
The Formula: Length (m) x Width (m) x Height (m) = Volume in Cubic Metres (m³)
The Example:
Let’s say you are setting up a standard, highly popular BudBox 1.2m x 1.2m grow tent with a height of 2 metres.
- 1.2 x 1.2 x 2.0 = 2.88 m³
Your grow space holds 2.88 cubic metres of air.
Step 2: Find Your Base Extraction Rate
Now that you know the volume of your room, you need to calculate how much air needs to be moved to exchange that volume once every minute, for an entire hour.
The Formula:
Room Volume (m³) x 60 (minutes in an hour) = Base Extraction Rate (m³/hr)
The Example:
- 2.88 m³ x 60 = 172.8 m³/hr
At a bare minimum, in a perfectly empty room with no resistance, you would need an extractor fan capable of moving roughly 173 m³/hr. But wait! We don't grow in empty, magical vacuum rooms. We have to account for real-world resistance.
Step 3: Factoring in Resistance (The "Real World" Math)
This is where beginners make their most costly mistakes. They buy a fan rated for their exact base extraction rate, only to find their tent is overheating. Every piece of equipment you attach to your fan creates "drag" or resistance, reducing the fan's efficiency. You must increase your fan size to compensate for these factors.
Here is the expert breakdown of how much extra capacity you need to add:
1. The Carbon Filter (+ 20%)
Odour control is mandatory for indoor growers. A high-quality carbon filter is densely packed with activated virgin carbon. Pulling air through this dense material reduces your fan's airflow by approximately 20%.
2. Ducting and Bends (+ 20% per 90-degree bend)
Air doesn't like turning corners. If you are using standard aluminium ducting, every sharp 90-degree bend you introduce reduces airflow by another 20%. Expert Tip: Keep your ducting runs as short, straight, and tight as possible.
3. Heat from Grow Lights (+ 20% to 40%)
Lights generate heat, which expands the air and requires faster removal.
- If using modern, highly efficient LED grow lights, add 20%.
- If using traditional, hot High-Pressure Sodium (HPS) lights, add 40%.
Let's Update Our Example Calculation:
Let's stick with our 1.2m x 1.2m x 2m tent (Base rate: 173 m³/hr). We are going to use a carbon filter, we have one 90-degree bend in our ducting, and we are using an LED grow light.
- Base Rate: 173 m³/hr
- Add Filter (20%): 173 x 1.20 = 207.6 m³/hr
- Add Ducting Bend (20%): 207.6 x 1.20 = 249.12 m³/hr
- Add LED Heat (20%): 249.12 x 1.20 = 298.9 m³/hr
The Final Result: To properly ventilate this 1.2m tent in the real world, you need an extractor fan rated for at least 300 m³/hr.
Step 4: Choosing Your Equipment
Now that you have your magic number (300 m³/hr), it’s time to shop like an expert. Here is how to select the right components.
1. The Extractor Fan: Go Big and Dial it Down
A 300 m³/hr requirement perfectly aligns with a high-quality 4-inch (100mm) or 5-inch (125mm) inline fan. However, an expert secret is to oversize your fan and use a controller.
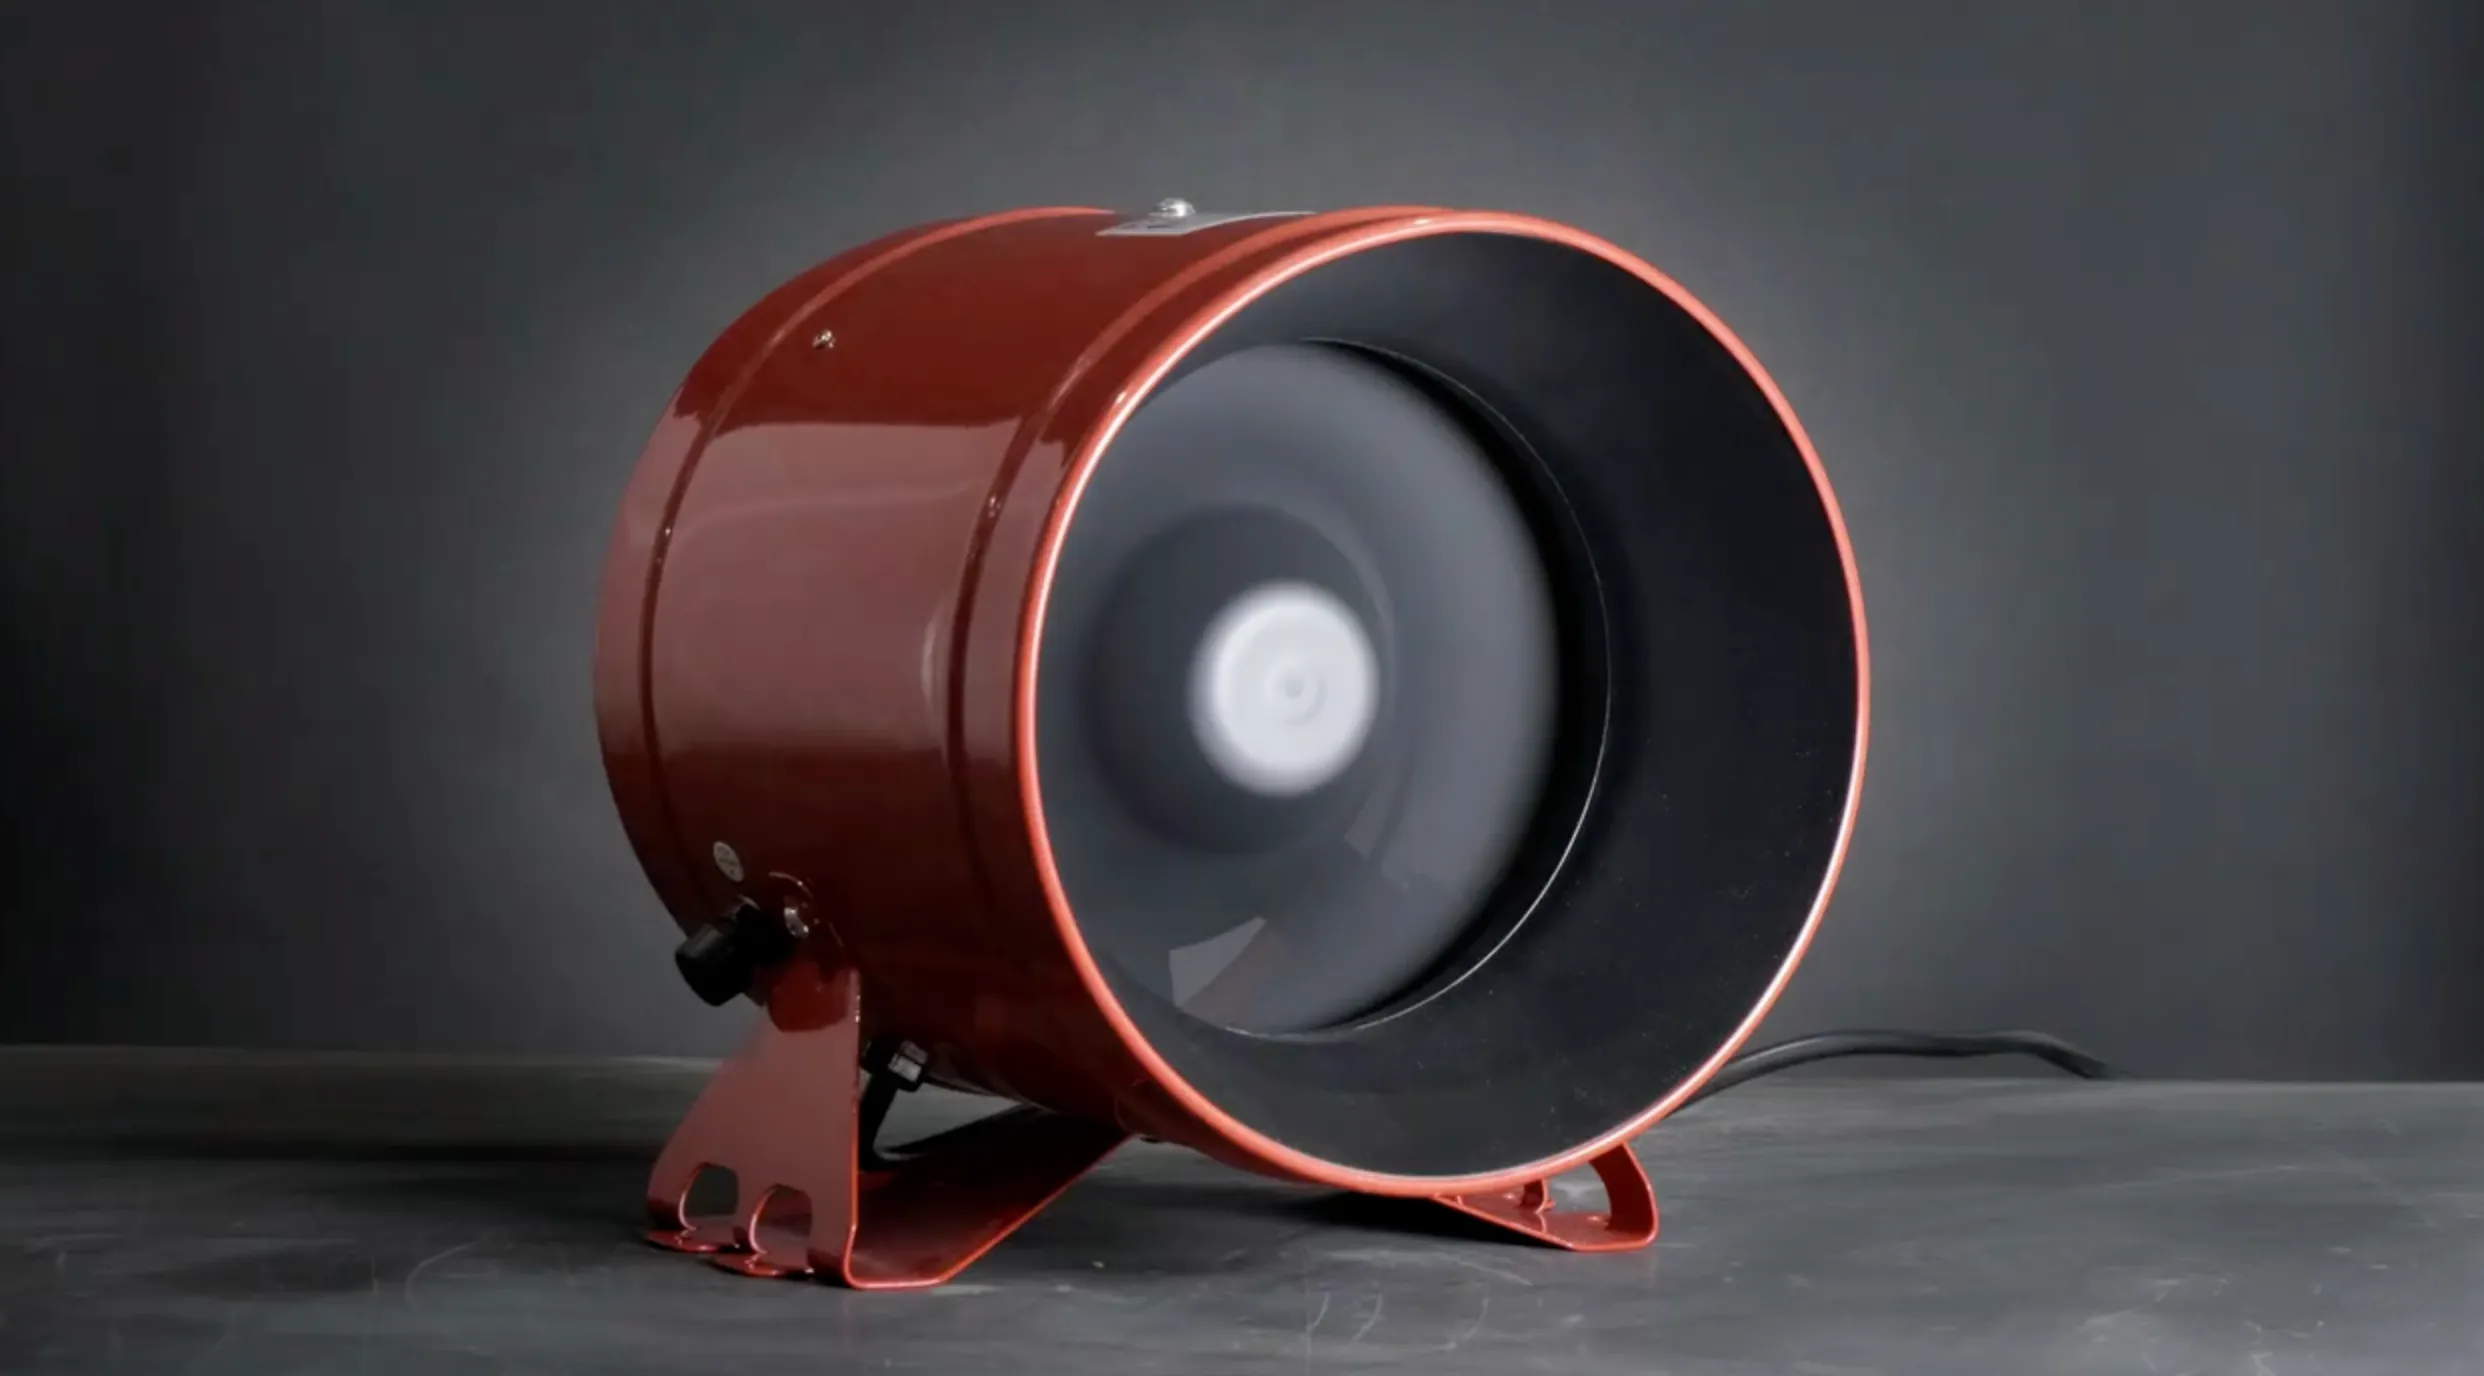
Instead of buying a fan that perfectly matches your requirement and running it at 100% capacity (which is noisy and wears the motor out faster), buy a 6-inch (150mm) fan like the Rhino Ultra EC Fan that can move 500+ m³/hr. By pairing it with a fan speed controller, you can run the larger fan at 50% power. This meets your airflow needs while remaining whisper-quiet and dramatically extending the lifespan of the equipment. We highly recommend looking into EC (Electronically Commutated) Fans. Unlike older AC models, EC fans can be dimmed down to 1% without any buzzing or humming.
2. The Carbon Filter: Matching the Flow
Your carbon filter must be correctly matched to your fan. If your fan pulls air faster than the filter's rating, the air won't spend enough "contact time" with the carbon, and odours will escape your grow room. So taking the example from earlier of the Rhino Ultra EC Fan which can move 594m³/hr the 6" Rhino Pro Carbon Filter is the perfect match as it moves 600m³/hr.
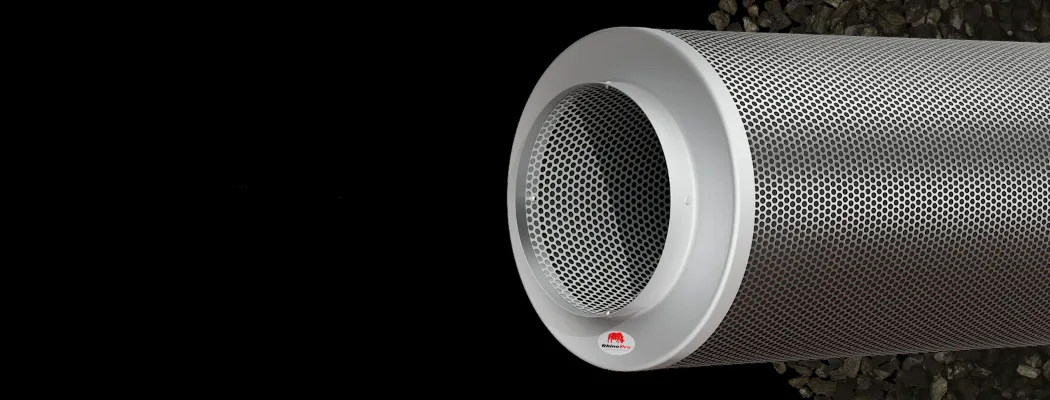
Always ensure the maximum m³/hr rating of your carbon filter is EQUAL TO or SLIGHTLY GREATER THAN the maximum rating of your extractor fan.
3. Intake Air: Passive vs. Active
If you are pulling air out of the tent, new air must come in.
- Passive Intake: For smaller tents (like our 1.2m example), simply opening the lower mesh vents on your grow tent is enough. The extractor fan will create "negative pressure" (sucking the tent walls inward slightly), which naturally draws fresh air in through the bottom vents.
- Active Intake: For larger rooms or tents (e.g., 2.4m x 2.4m), relying on passive intake puts too much strain on your extractor fan. You will need an active intake fan pushing fresh air into the room. Expert Rule: Your intake fan should always be 15% to 20% less powerful than your extractor fan to ensure you maintain that crucial negative pressure, keeping odours trapped inside.
4. Ducting: Silencing the Rush
Standard aluminium ducting is cheap and effective, but it transmits the sound of rushing air very easily. If stealth and quiet operation are priorities, upgrade to Acoustic ducting. This is surrounded by a layer of thick glass-fibre insulation that drastically dampens the noise of the airflow, making your grow room significantly quieter.
Conclusion: Breathe Easy
Calculating your grow room ventilation doesn't require a degree in engineering, but it does require stepping back and looking at your grow room as a complete, interconnected system. By calculating your volume, multiplying for a rapid air exchange, and generously factoring in the real-world resistance of filters, bends, and heat, you guarantee your plants will always have the fresh, CO2-rich environment they need to thrive.
Don't let poor airflow become the bottleneck that limits your yields. Equip yourself with the right knowledge and then equip your room with the best gear. Browse our extensive Ventilation range, and get ready to experience the rapid, healthy growth that only perfect environmental control can bring.
Happy growing!